Top 6 Samsung Root Software to Root Samsung Quickly

Sep 01, 2023 • Filed to: Latest News & Tactics • Proven solutions
The Korean tech giant Samsung is one of the few companies that uses Android with minimal customization. This feature helps to root almost all the devices very easily and the presence of many apps makes this task even easier. Samsung mobiles are well known both in the budget segment as well as in the flagship.
Now, rooting is the process to unlock all the sub folders of Android, it is same as unlocking the administrative on the Linux pc OS. When this process is conducted using any Samsung root software on Samsung devices, many advantages can be achieved for example, processor boost, battery boost etc. Moving forward to Samsung mobile root software, there are primarily 7 softwares that can be used to root any Samsung device safely. These are also known as the safest Samsung root software. Samsung is unofficially known to be one of the top sellers in the low and mid-range segment. Therefore due to the presence of huge number of Samsung devices in the market, the demand for safe methods of rooting various Samsung devices were huge.
Therefore, let us move forward to discuss about all the softwares one by one with all the pros and cons related to each of them.
Remember to backup your Samsung phone before you start the root process.
- Part 1: Odin Root
- Part 2: Kingo Root
- Part 3: King Root
- Part 4: iRoot
- Part 5: Root Genius
- Part 6: TunesGo Android Root Tool
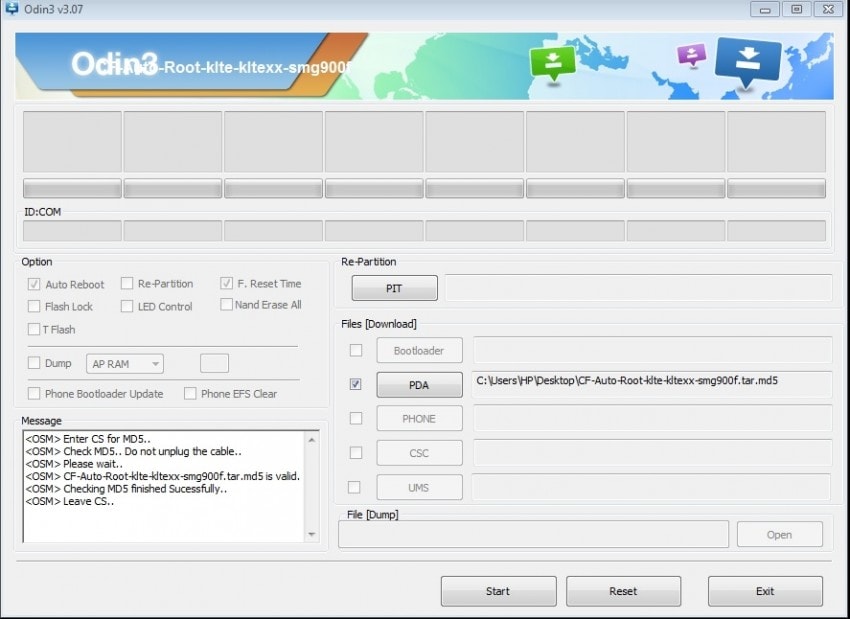
Part 1: Odin Root
Odin Root is one of the latest Samsung root software. It is the only Samsung mobile root software that is officially provided by Samsung. This acts as the greatest positive feature for this utility toolkit. It is a tool that helps to flash the firmware of the Samsung device through USB debugging.
Pros
- Due to its official availability it does not have any risk.
- It gives the users supreme control over their device.
- Odin mode also known as the download mode helps the user to customize his device to its very core.
- Odin Root toolkit also helps to change the boot loader of Samsung android.
Cons
- It cannot function without a PC connectivity.
- It is quite a lengthy process.
- The toolkit has some serious bugs.
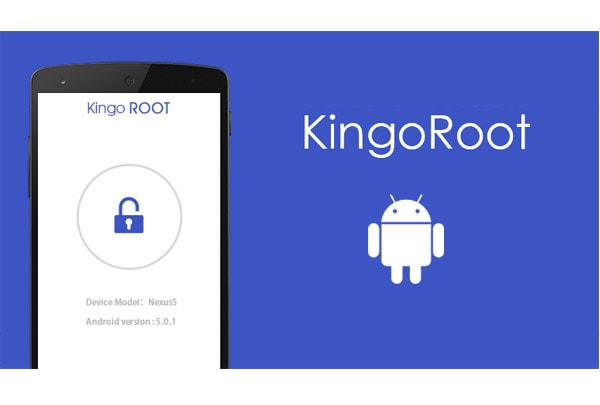
Part 2: Kingo Root
Kingo root is one of the well-known simple Samsung root software. It is also known as “One Click Root app”. As the name suggests, the entire process is conducted just by one click and it doesn’t require any PC connectivity.
Pros
- It doesn’t require any PC connectivity.
- User has to just click one button.
- It doesn’t require more than a minute.
Cons
- The process is conducted over internet.
- The risk of device bricking prevails.
- It is not an assured process.
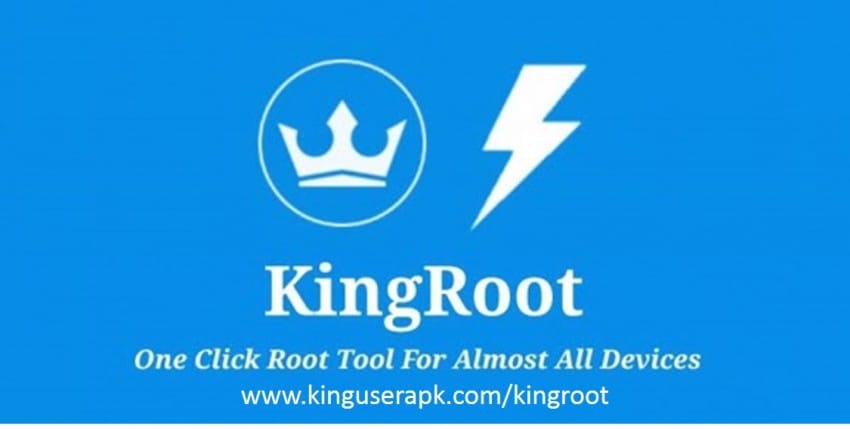
Part 3: King Root
This Samsung mobile root software also falls under the one-click root category. It is also known as the universal root toolkit as it can root almost any device from any manufacturer. Kingroot is one of the oldest root apps present on the web. It has a highly simple interface.
Pros
- Simple and easy to understand interface.
- Rooting the device is just one click away.
- Doesn’t require a PC connectivity.
- It is very quick and efficient.
Cons
- It doesn’t receive much updates from the developers.
- Primitive method of rooting.
- Depends on the internet connectivity speed.
- Chances of bricking the device.
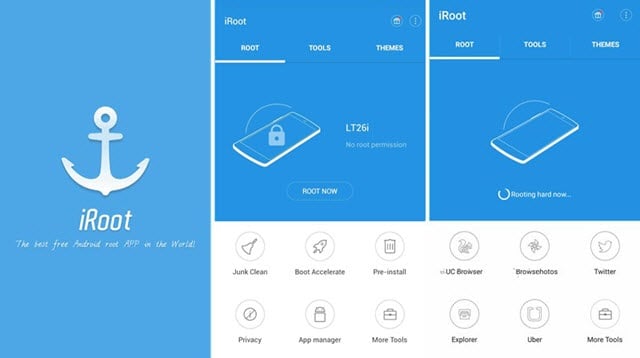
Part 4: iRoot
iRoot is one of the latest root devices available in the web that helps to conduct the rooting process on the phone itself. But unlike Kingroot or kingo root, it isn’t a one click root app. But the steps related with this Samsung root software are really simple.
Pros
- No need of any PC connectivity.
- It is a really simple rooting toolkit.
- No need of internet connectivity.
Cons
- Sometimes the process gets too complicated.
- The risk of getting the boot loader messed up is really high.
- It doesn’t work for all the devices.
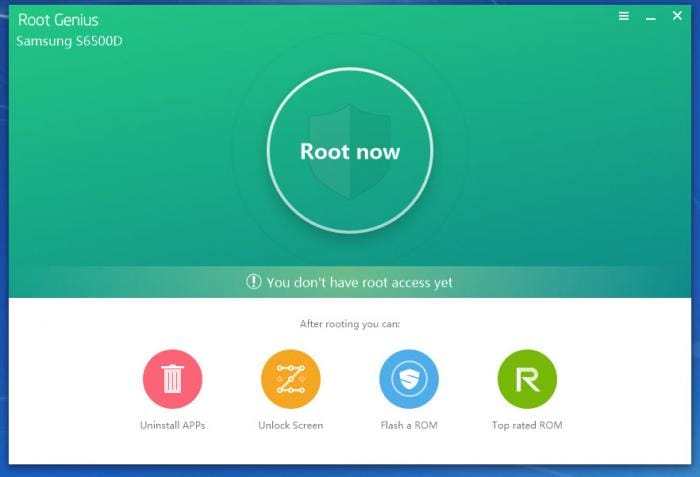
Part 5: Root Genius
This process of Root Genius involves rooting by connecting to the PC. For this Samsung mobile root software to work properly, the USB Debugging must be enabled on the particular device you want to root. The beta version can also be downloaded from the Google Play Store.
Pros
- The beta version works same as the full version.
- Since it comes from Google Play Store, it can be easily relied upon.
- Although it requires a PC Connectivity, the process isn’t too much complicated at all.
Cons
- This rooting process can’t be pulled off without a PC connectivity.
- Due to the presence of bugs, it gets lagged in the middle.
- It also requires a good internet connection for the rooting process.
- The developers usually do not reply to user feedbacks.
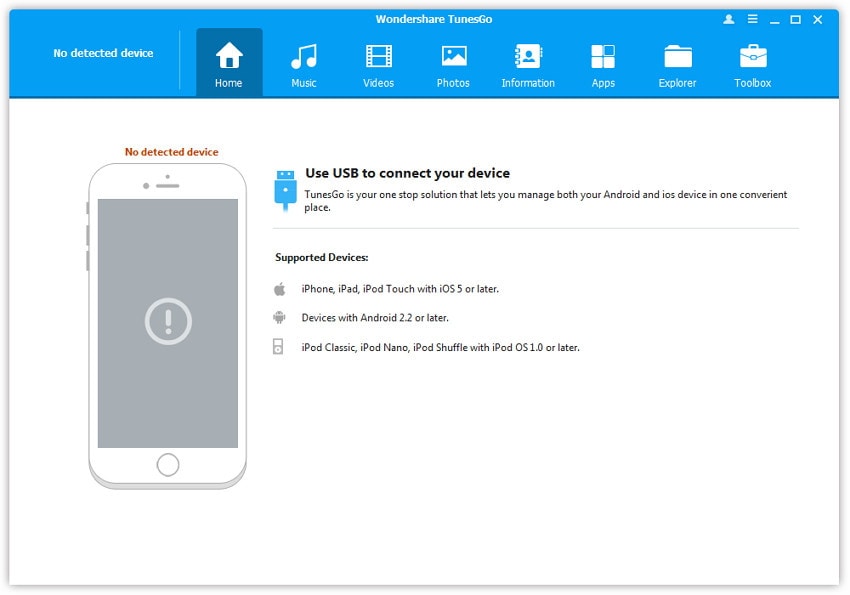
Part 6: TunesGo Android Root Tool
TunesGo is actually a PC Suite that supports both the android OS and IOS and has quite a handful of offerings. This has been declared to be a legal software by both Google and Apple last year. It is convincing enough for the users to use this toolkit as Samsung root software.
Pros
- Being a legal app the risks are quite minimal
- There is no chance for the device to get bricked.
- It doesn’t mess with the firmware of your Android.
- It also helps to unlock boot loader, super user and busy box.
Cons
- Although it claims to be a rooting tool, it does not root quite a few devices.
- It also doesn’t do the usual job of a PC Suite.
- According to schedules, it only receives one update per year.
- It doesn’t work without a PC Connectivity.
So, above we discussed about the 7 Samsung mobile root software. There may be many ways to root your device but always remember that all rooting apps have some common cons. For example over-heating, warranty becomes null and void and due to the removal of all the internal locks your device will become prone to hacking. Hacking may result in the loss of many sensitive and personal data from the device. Overall, the decision lies on the user whether he wants to take this supreme risk or not. Just remember that nothing comes without it’s own share of consequences.


Samsung Manage
- Samsung Data Manage
- 1. Best Samsung Manager
- 2. Manage Contacts on S9/S8
- 3. Manage Music on Samsung
- 4. Manage Music on Samsung S8
- 5. Transfer Photos to Samsung S8
- 6. Manage Photos on Samsung S9
- 7. Best Galaxy S9 Manager
- 8. Samsung Gear Manager
- 9. Samsung Task Manager
- 10. Remove Samsung Bloatware
- Samsung Erase
- 1. Tips for Selling Old Samsung
- 2. Wipe A Samsung Phone
- 3. Tips to Erase Data
- 4. Remove Samsung Apps
- 5. Uninstall Apps on Samsung
- Samsung Mirror
- 1. Share the Phone Screen
- 2. Screen mirror to Samsung TV
- 3. Use Allshare Cast To Mirror
- 4. Samsung Mirror Screen to PC
- Samsung Record
- 1. Screen Record on Samsung A50
- 2. Screen Record on Samsung S10
- 3. Screen Record on Samsung s9
- 4. Samsung S8 Screen Record
- 5. Top Samsung Screen Recorder
- Samsung Root
- 1. Root Samsung Galaxy S7
- 2. Jailbreak Samsung Phones
- 3. Root Samsung Galaxy S3
- 4. Root Samsung Galaxy S4
- 5. Root Samsung Galaxy S5
- 6. Root Samsung Galaxy J5
- 7. Samsung Root Apps Without PC
- 8. Top 6 Samsung Root Software
- 9. Used Apps to Root Samsung Note
- 10. Root Samsung Galaxy S3 mini
- 11. Root Galaxy Tab 2 7.0
- 12. Unroot Android Devices
- Samsung to Mac
- 1. Transfer Photos to Mac
- 2. Samsung File Transfer for Mac
- 3. Transfer Photos from Samsung
- 4. Transfer Pictures to Mac
- 5. Transfer Pictures from Samsung
- 6. Transfer Files to Macbook
- Samsung to PC
- 1. Transfer Contact from Samsung
- 2. Transfer Photos to PC
- 3. Transfer Photos to Laptop
- 4. Transfer Photos from Samsung
- 5. Transfer Files to PC
- 6. Transfer Photos From Note 8 to PC
- USB Debugging
- Samsung Tips
- ● Manage/transfer/recover data
- ● Unlock screen/activate/FRP lock
- ● Fix most iOS and Android issues
- Manage Now Manage Now Manage Now
James Davis
staff Editor