Two Easy Solutions to Root Sony Devices

Sep 01, 2023 • Filed to: Latest News & Tactics • Proven solutions
When it comes to android devices, there are a few brands that have a global reach. Sony is certainly one of them. With its dedicated line of Xperia smartphones, it has created a distinctive presence for itself among all the android fan boys. Sony has produced different kinds of Xperia devices that are a favorite among plenty of users out there. Though, when it comes to root Xperia, most of these users face some or other kind of trouble.
It is one such limitation that every android user faces. Sony is certainly no such exception and in order to truly customize the device, users are required to root Sony smartphones. The process can be a stringent one and if not executed wisely, you might end up losing your data or can even corrupt your firmware. Don’t worry! We are here to help you. Read on to know about three easy and hassle-free ways to root Sony Xperia devices on the go.
Part 1: Root Sony Device with iRoot
In case you want to look for another alternative, we suggest using iRoot. Though, the interface is quite different, but it also provides a secure way to root Sony devices. Before you commence, make sure that your phone is at least 60% charged and operates on at least Android 2.2. The desktop application works fine with all the new versions of Windows operating system. Make sure you are ready before following these simple steps to root your device.
1. As usual, you need to download and install iRoot on your system. It is available here.
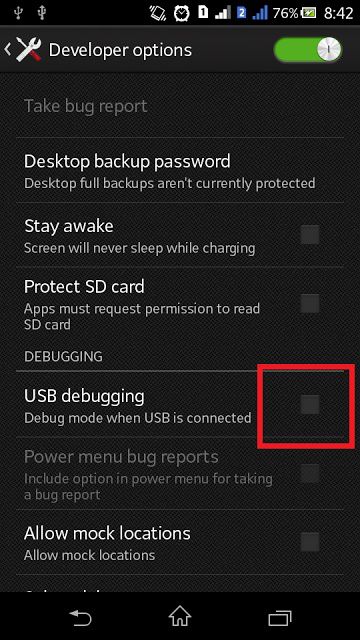
2. Before connecting your phone, make sure that you have enabled the USB Debugging option. You can do it by visiting the Developer Options (under “Settings”) and turning the USB Debugging on.
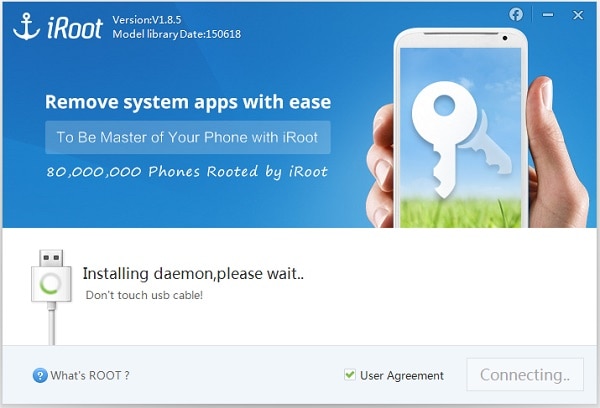
3. Simply open the interface of iRoot on your system. When it’s ready, connect your phone to your system using a USB cable.
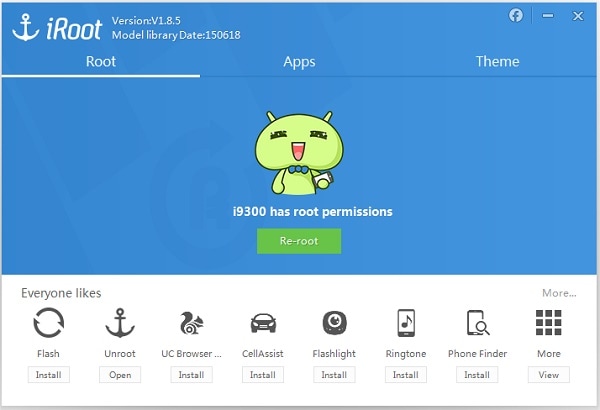
4. After a while, your device would be automatically recognized by the application. It will give a similar prompt like this. Simply click on the “Root” button.

5. In case you have already rooted your device before, it will provide a prompt and ask if you want to re-root your device.
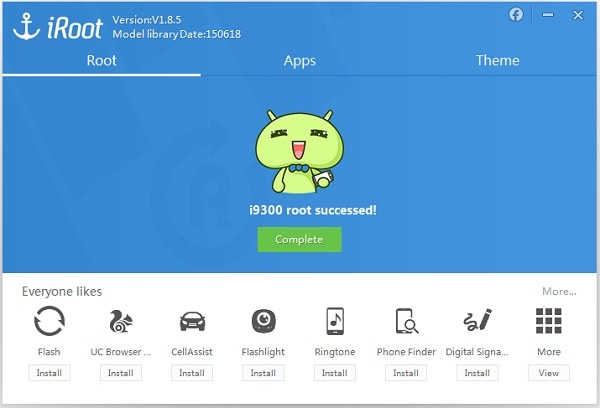
6. Have some patience and let the application root your device. After a while, it will prompt you as soon as the process would be completed. Simply click on the “Complete” button to finish rooting.
Part 2: Root Sony Device with OneClickRoot for Android
OneClickRoot has emerged as one of the leading applications that can help you root Sony Xperia and other devices easily. It is compatible with both Windows and Mac and will provide a secure way for you to root your device. Just follow these simple instructions.
1. Start by downloading the software from here and install it on your system.
2. Enable the USB Debugging options before connecting your device to the system.

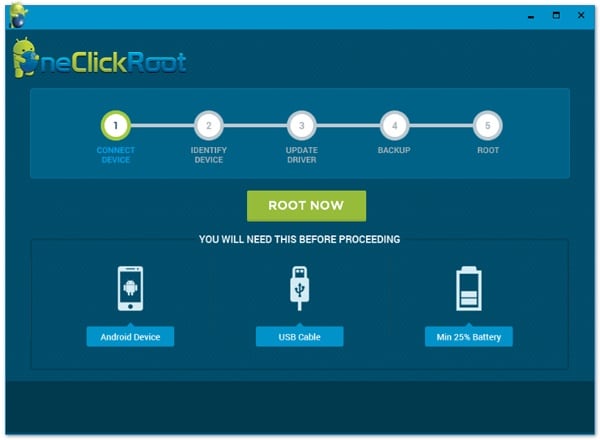
3. Now, open the software on your system and simply click on the “Root now” button.
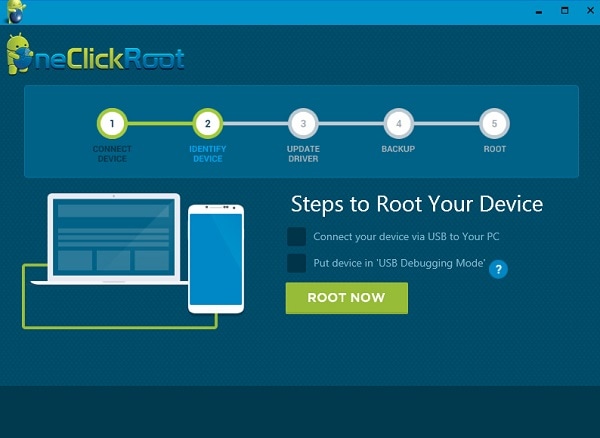
4. Your device would be identified and it will ask you to connect your phone using a USB cable. It will also remind you to turn the USB Debugging option on.
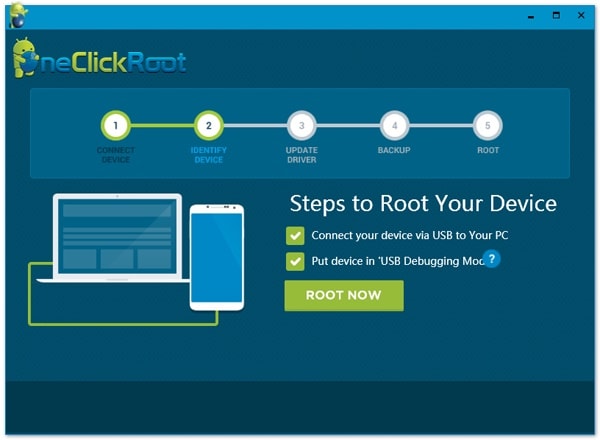
5. After performing both the tasks, simply put a check on these options and click on the “Root now” button to commence.
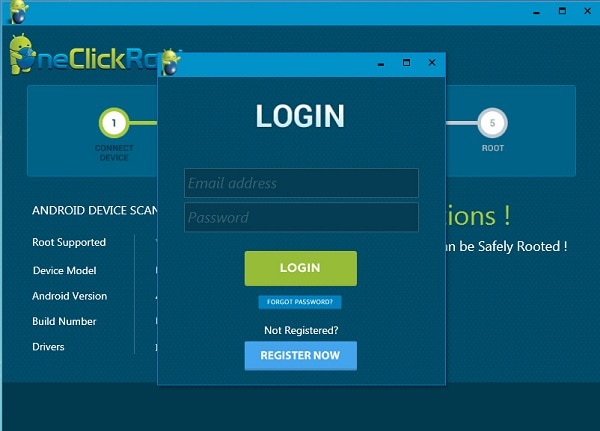
6. If you haven’t signed in, it will ask you to provide your credentials. You can also create a new account if you want to or simply provide your credentials if you already have an account.
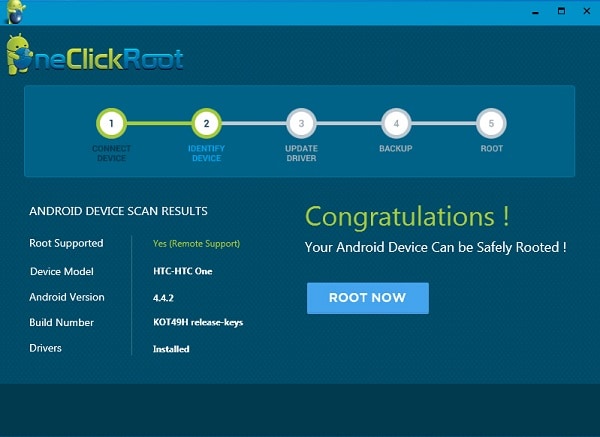
7. After successfully logging in, it will display the specifications of your device. Simply click on the “Root now” option once again and your device would be rooted. It would automatically update the drivers and take the backup of your data.
Before you commence the rooting process, make sure that you have downloaded the drivers for your Sony device and have taken a backup of your data. It is of utmost importance that you prepare your device before the commencement of the entire process. This will let you root Xperia phone without facing any problem. Choose the method of your choice and unleash the true limits of your Xperia device.


Android Root
- Generic Android Root
- 1. Text Message Apps for Android
- 2. Root Android ONE Devices
- 3. 30 Useful Android Root Apps
- 4. Best Android Root File Managers
- 5. Get Root Access with Computer
- 6. Delete Preinstalled Apps on Android
- 7. Get Free In-APP Purchase
- 8. Wifi Hotspot Apps without Rooting
- 9. Get Root Access on Android
- 10.Root Android Devices
- 11.Root Android Phones and Tablets
- 12.Root Smartphone on Android
- 13.Why Root Android and How to Root it
- 14.Root Android 4 Series in Two Ways
- 15.Tools to Root Android Online
- Specific Android Root
- 1. Root Samsung Galaxy S7& S7 Edge
- 2. Root LG Devices with Root Script
- 3. Samsung Root Software to Root
- 4. Root Motorola Devices
- 5. 2 Solutions to Root ZTE Devices
- 6. Solution to Root Huawei P9 Safely
- 7. 2 Methods to Root Nexus 7 Easily
- 8. Solutions to Root Sony Devices
- 9. Root Any HTC Device in One Click
James Davis
staff Editor