Dr.Fone User Guide for Dr.Fone Basic
Learn how to use Dr.Fone to manage, backup, and mirror your mobile devices on the computer. Download the latest version of Dr.Fone and get started now.
How To Transfer Media Data From iOS/Android Device to iTunes?
iTunes has been a great source of keeping important media of iOS devices for a long time. Although it has been kept out of the front ranks in recent years, much can still be done there. This guide will discover how to transfer media data from iOS to iTunes along with Android.
Manage Your Phone Wherever You Go
Part 1. Transfer Media Data From iOS to iTunes
If you seek to transfer media data from iOS to iTunes with Dr.Fone iTunes Library feature, this guide will be pretty helpful for you. Find out how Dr.Fone helps in executing this task.
Launch Dr.Fone on your computer and ensure it is connected to your iPhone through a Wireless or USB connection. Proceed to open the section of your iPhone from the left panel. Select the option of iTunes Library from the available list on the homepage.

* Dr.Fone Mac version still has the old interface, but it does not affect the use of Dr.Fone function. We will update it as soon as possible.
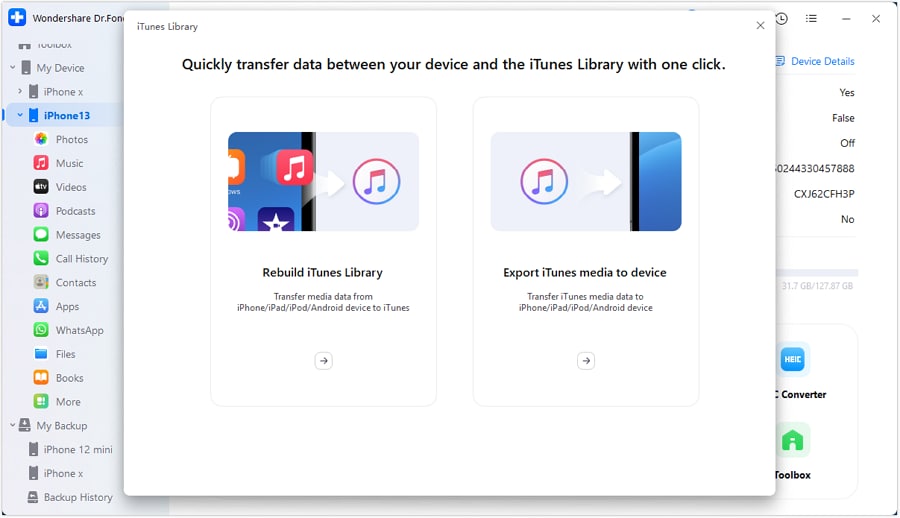
As a new window pops up, you have to select an appropriate function for iTunes Library. Select Rebuild iTunes Library as you are seeking to transfer media from iOS to iTunes.
The next window leads to the initiation of the process. Click Start to initiate copying data from the iPhone to iTunes.

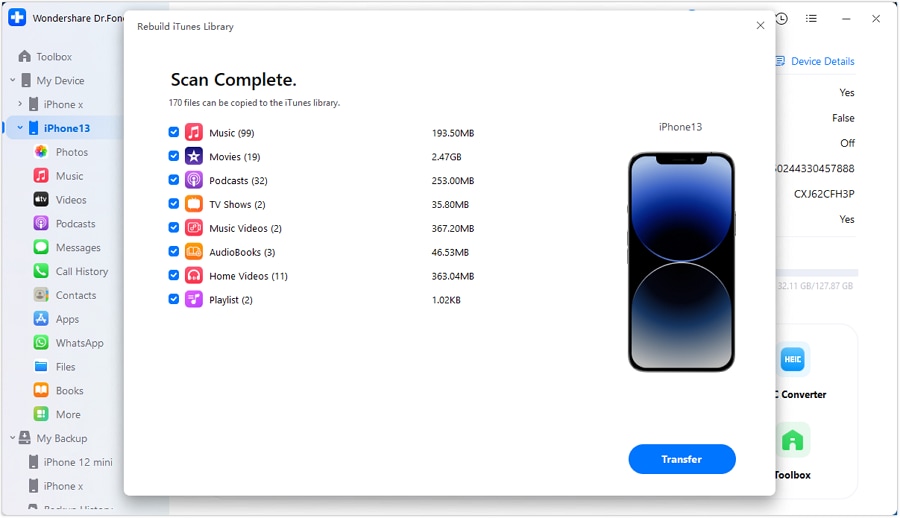
As the scanning of the iOS device concludes, the list of supported file types is displayed in the next window. Checkmark the data you wish to transfer and tap Transfer to proceed.
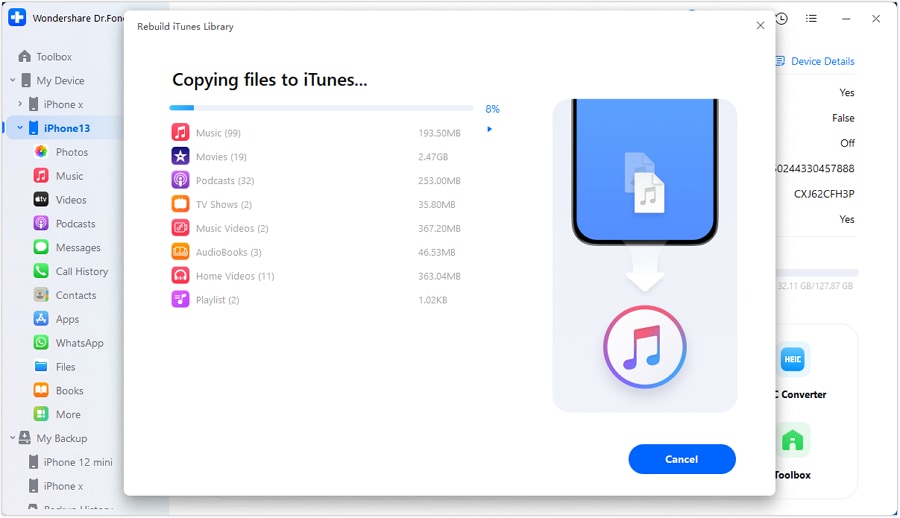
The next window starts displaying the progress bar of the process. Wait for a few moments until the selected data is transferred from the iOS device to iTunes. If you wish to cancel, choose Cancel to stop the process.
The following prompt window shows the completion of the process. Click OK to conclude the entire process.

Part 2. Transfer Media Data From Android to iTunes
With Dr.Fone – iTunes Library, transferring media data from Android to iTunes is possible. It covers the entire complex process in a few steps, which are explained as follows.
As you open Dr.Fone on your computer, ensure that your Android device is connected to the computer. You can either connect it through a USB cable or a wireless connection. Continue to select the iTunes Library option after selecting the Android device from the left panel.

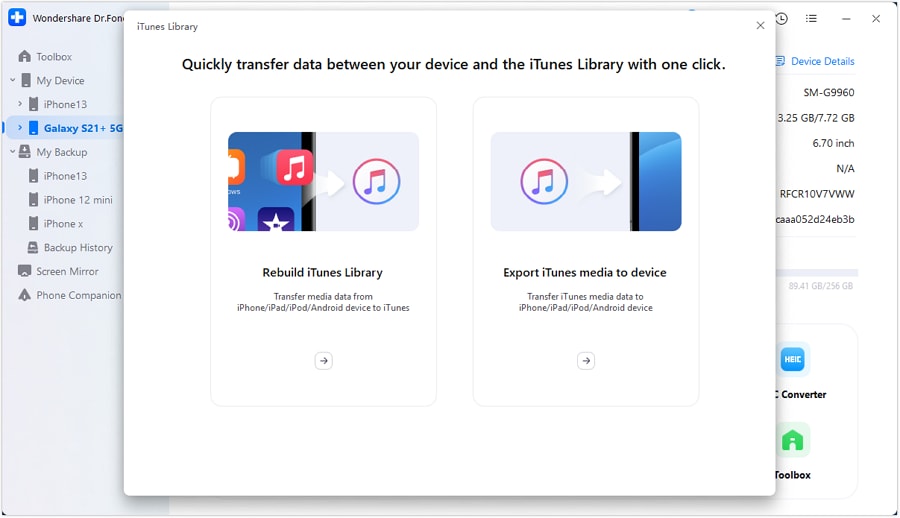
A window pops up where you have to select the option of Rebuild iTunes Library since you have to transfer data from Android to iTunes.
You will be led to another screen where you must tap Start to initiate the process.

All the data that can be transferred through this process is displayed on the next screen. Select the checkmarks and continue to tap on Transfer.

A new prompt window appears, showing the progress of the media data transfer.

Once the process concludes, the prompt shows a clear message and you can click OK to end the transfer.

WHAT YOU'LL NEED

Dr.Fone provides a complete set of tools for solving all iOS/Android phone problems.
Need help?
You might find the answer to your question in the FAQ or additional information below: