HOW TO DOWNGRADE IOS 13 WITH/WITHOUT iTunes?
It’s a fact that iOS 13 comes loaded with cutting edge features. But there are serious problems with this version which can actually make your iPhone not function as you expected. As a result, you would want to downgrade so that you can have your device working well. Here are the tips to downgrade Ios 13 with and without iTunes.
- Part 1: The Differences Between Downgrading iOS 13 with or without iTunes
- Part 2: Preparation of iOS Downgrade with iTunes
- Part 3: The Easiest Way to Downgrade iOS13 with dr.fone - repair
- Part 4: Is There Any Other Way to Downgrade iOS13?
The release of iOS 13 brought thrill and excitement to many people. It came with the latest and coolest features. But as it is a case to many, the upgrade came up with a lot of bugs. Some crucial features can fail to work, and you may have no other option but to downgrade the iOS.
Part 1: The Differences Between Downgrading iOS 13 with or without iTunes
Unveiled on 3rd of June this year in San Jose, iOS13 comes with new cool features along with a committed journey into user’s privacy. Here’s is a roundup of what is new in the version:
- The new version comes with the highly anticipated dark mode.
- Apple’s ‘Memoji’ feature has been taken to another level. Users can now animate emoji and stickers with their facial expressions.
- Users don’t need to waste time filling through forms of authentication. Through Apple ID, users can authenticate their profiles protecting the security and privacy of the users.
- There are whole lot of wallpapers specifically designed for the Dark Mode.
The new version of iOS 13 has some few down sights however. The bugs include:
- It has a security bug which allows miscellaneous activities. Though Apple will surely rectify it soon, a bit information on how the bug works, and access to your iPhone or iPad will make your security details vulnerable to manipulations.
- The release has not been smoother like previous versions. For example, this version is filled with app crashes, less user-satisfaction, and less performance score.
- Huge photo libraries make the device slower.
The joy that comes with the release of latest version of iOS 13 is normally short-lived because of the quirky issues which arise during its usage. If you feel that you have had enough of such incapability, then there are means present through which you can downgrade your device.
One of the proven ways is to downgrade iOS using iTunes (no third-party software required). Another common method is to downgrade iOS without iTunes (third-party software is required).
iTunes is normally greatly reliable when downgrading your version. However, using a third party such as dr.fone seems better. The following are the differences between the two ways of downgrading iOS.
Step 1. iOS downgrade without iTunes does not interfere with your data and thus ensures that it remains safe in your phone. If you downgrade iOS using iTunes, you will definitely lose the existing phone data, since the process involves restoring the device to factory settings.
Step 2. Downgrading with iTunes is also technical, causing some operating difficulties. Third party tools make the iOS downgrade process easy, especially for beginners.
Step 3. Downgrading iOS without iTunes takes place faster than downgrading with iTunes.
Step 4. If you choose to use iTunes to downgrade iOS, there may be some iOS version limitations, which are not present in third party downgrade tools.
Part 2: Preparation of iOS Downgrade with iTunes
If you really want to downgrade iOS using iTunes, you will be relieved to know that the process is easy especially if you prepare pretty well, but it will take a little bit of time. The installed version of iOS 13 on a compatible iPhone device can be easily downgraded with the assistance of a computer and iTunes. And since iPad OS is just similar to iOS only that it has been relabeled, users who want to downgrade to iOS 12 from iPad OS13 also don’t need to worry.
How to Downgrade iOS with iTunes Requirements.
We are going to take you through the whole process of how to downgrade iOS with iTunes. But first, what are the requirements? Below are the requirements needed to downgrade iOS using iTunes.
- Mac or Windows Personal Computer having the recent version of iTunes
- Internet connection
- USB Cable to connect the iPhone or iPad to the Mac or Windows PC.
- Files of IPSW firmware for the latest iOS12.
Learn how to downgrade iOS13 using iTunes
Before continuing with the downgrade procedure, it is important to note that your data may end up getting lost. So, ensure that you have backed up your data using either iTunes or iCloud. With that already done, you are now good to go.
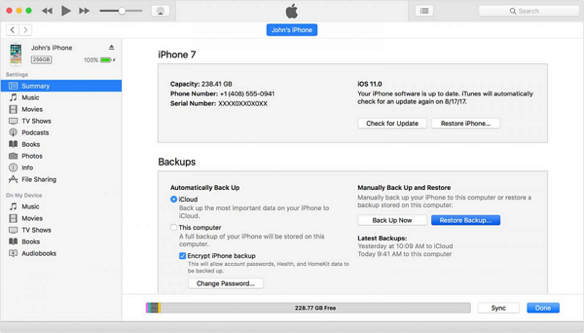
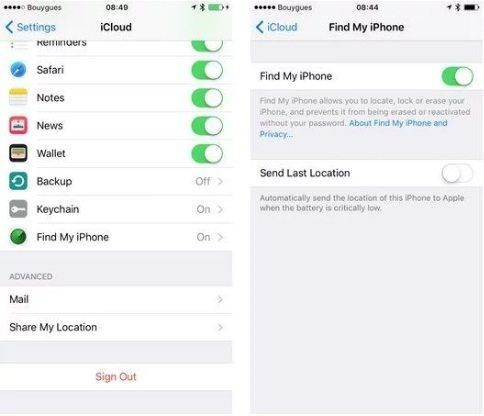
Step 1: Turning off the “Find My Phone” service.
The first step in downgrading iOS 13 beta version is to turn off “Find My phone” service present in your phone. This should be achieved easily by going to “iCloud Settings,” then to “Find my iPhone”. You will however be required to input your ID and password just to confirm the action.
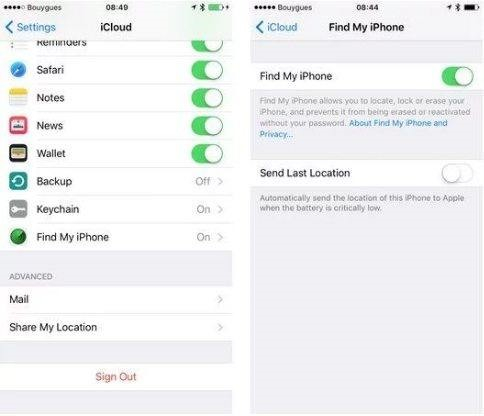
Step 2: Connect your device to the computer
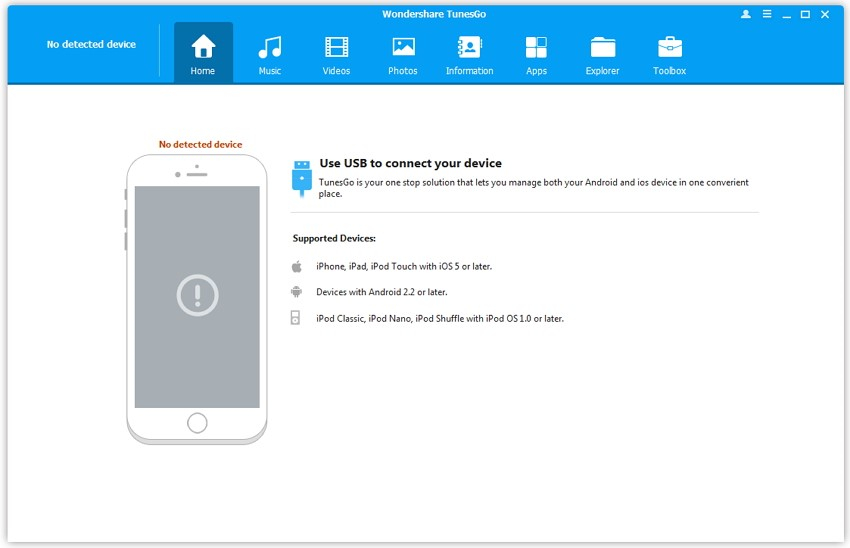
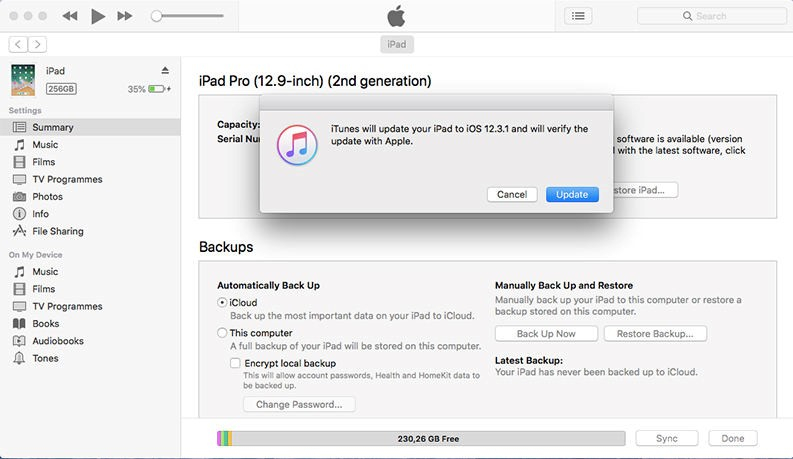
Step 3: Go to your personal computer, and launch the latest version of iTunes. Click on the device icon that has the name of your iPhone or iPad.
Step 4: Access browser containing the downloaded IPSW files location
To do this, go to the “Summary” section and then;
- For Mac, hold the “Option” button then click on “Update.”
- For Windows, press on the “Shift” button and click on “Update.”
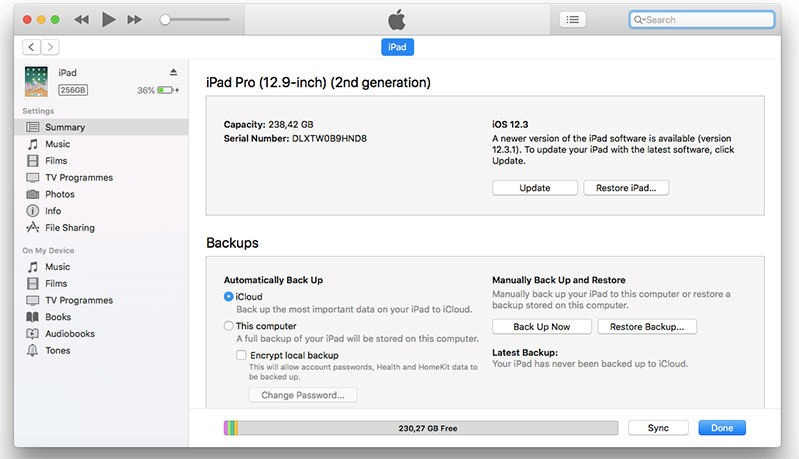
Step 5: Downgrading the iOS version
After accessing the IPSW file, select it and upload it to iTunes. Ensure that you confirm that you want to forcefully update the connected device. Wait as iTunes completes the iOS 13 downgrading process.
As the process continues, the screen of your device will turn into black, rebooting multiple times. Just leave the device connected to you PC. Do not disconnect it.
Part 3: The Easiest Way to Downgrade iOS13 with dr.fone - repair
dr.fone repair has proved overtime to be an important software in fixing your device’s software requirements without damaging your device and its storage. It is more advantageous compared to iTunes because it does not delete your phones data. So iTunes for iPhone or iPad is not the only requirement to have the version of your device downgraded. dr.fone, developed by WonderShare, offers an easy way to downgrade iOS without iTunes. Follow these steps to learn on how to downgrade iOS without using iTunes.
Step 1: Download dr.fone into your PC.
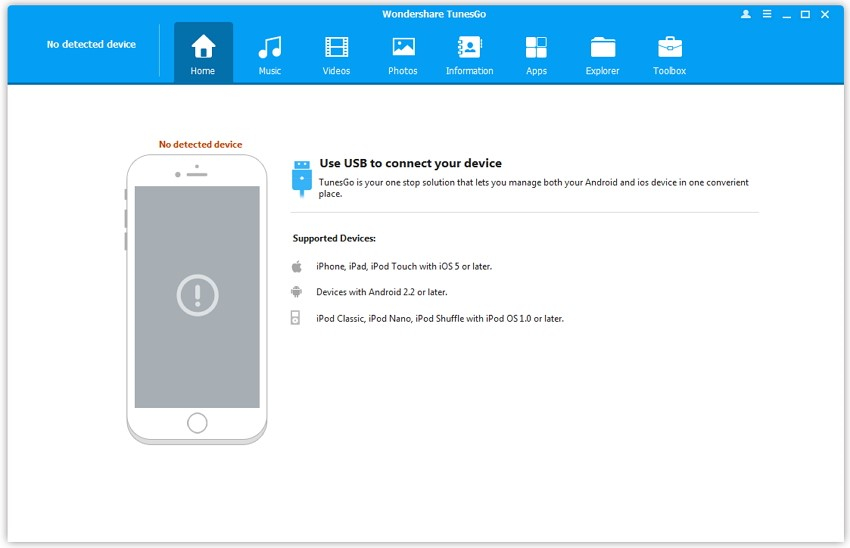
Step 2: Once you have downloaded dr.fone to your device, connect your iPhone or iPad to the computer using a USB cable and launch dr. fone.
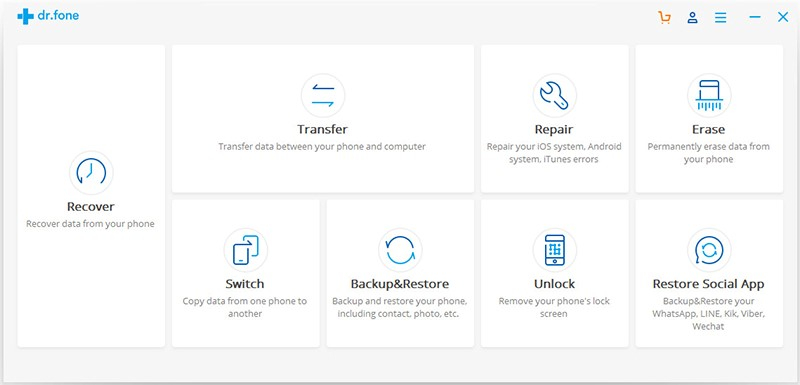
Step 3: Click on “Repair” in the pop up window.
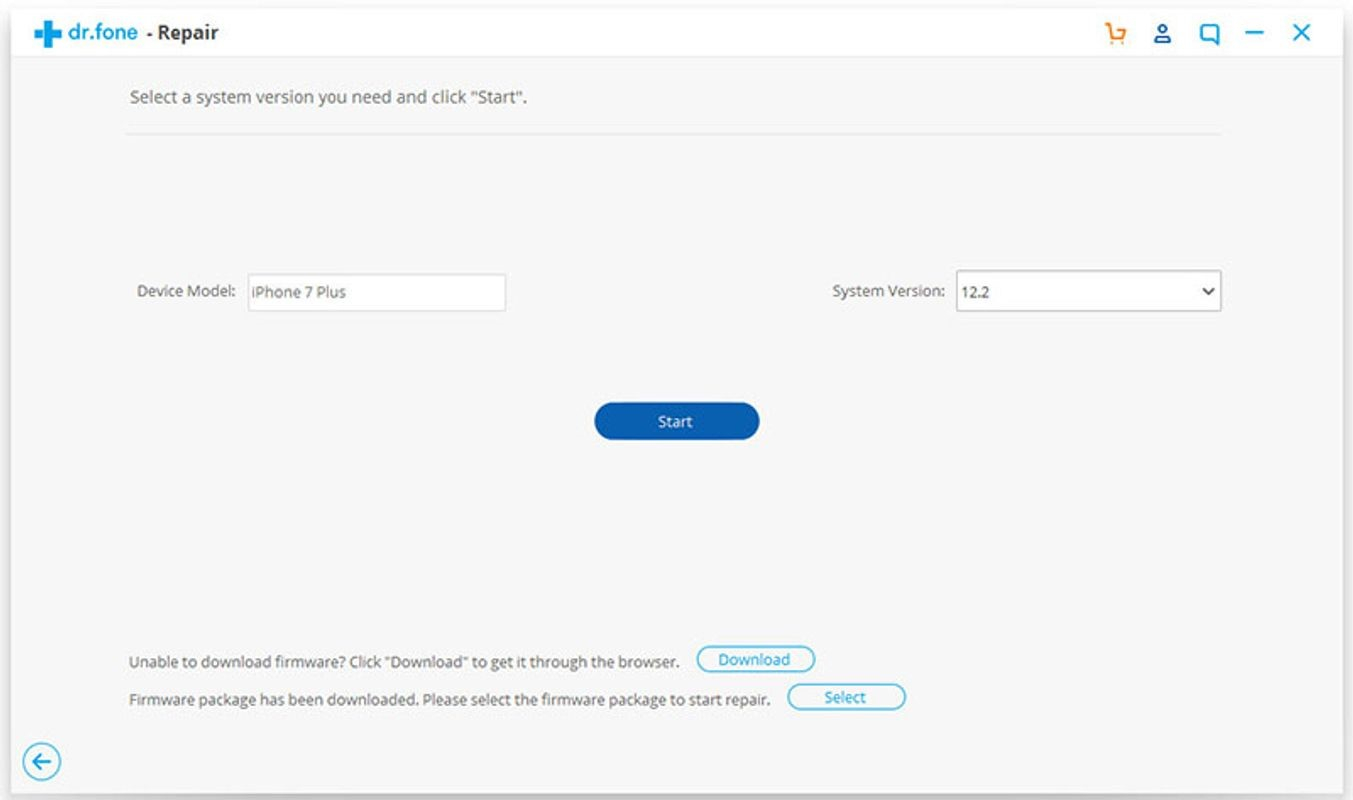
Step 4: Proceed to choose the iOS version you want. Click on “Start” and the process of updating the operating system of your device will start automatically.
Step 4: Click on “Trust this computer” that will pop up on your device so that you can continue with other procedures.
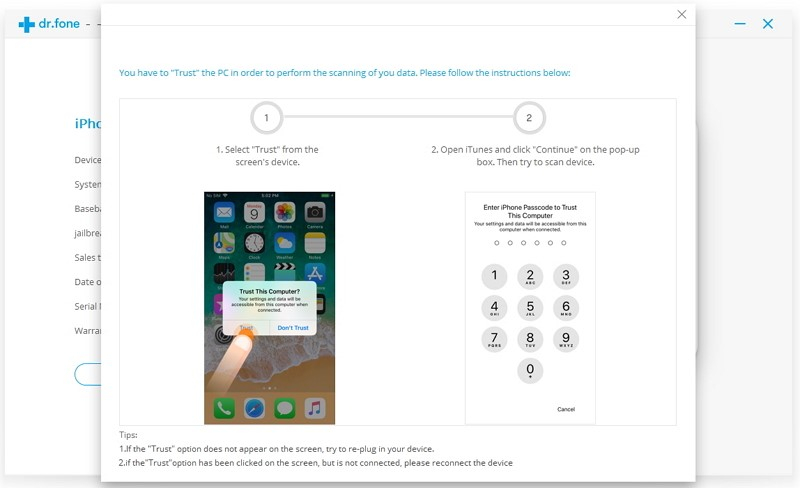
The software will automatically detect your device, and display two standard modes and advanced mode options. It is important to understand how the standard and advanced mode options in dr.fone work. Standard mode corrects most issues present in the iOS without entirely losing the data. On the other hand, advanced mode solves even much more problems but erases the data in your device. It is therefore, wise to opt to advanced mode only when the standard mode fails to work.
Part 4: Is There Any Other Way to Downgrade iOS13?
With the above mentioned ways of downgrading your ios13 device, there are still other proven ways on how to downgrade iOS without iTunes that solve quirky issues that come along with the upgrade. Before following these procedures of iOS downgrade without iTunes, it is important to ensure that you back up data for it not to be erased.
Since the downgrade process may take time, check to see if your device has good battery percentage of more than 70 percent to take you through the whole downgrade process.
In the past, TinyUmbrella and TaigOne downgraders have been indeed helpful in ensuring that users get a chance to downgrade their iOS 13 versions. However, TinyUmbrella has not been functional ever since Apple patched a loophole for SSH usage by its clients. Therefore, it does not work.
Honestly, it will be wrong to pompously declare that the downgrade process using the mentioned software will be an easy ride. Using TaigOne downgraders is complicated.
For users who want to remove iOS 13 beta version from their devices, follow through the following steps:
Step 1: Turn off “Find my Phone” setting by going to “Settings” and then accessing ”iCloud.”
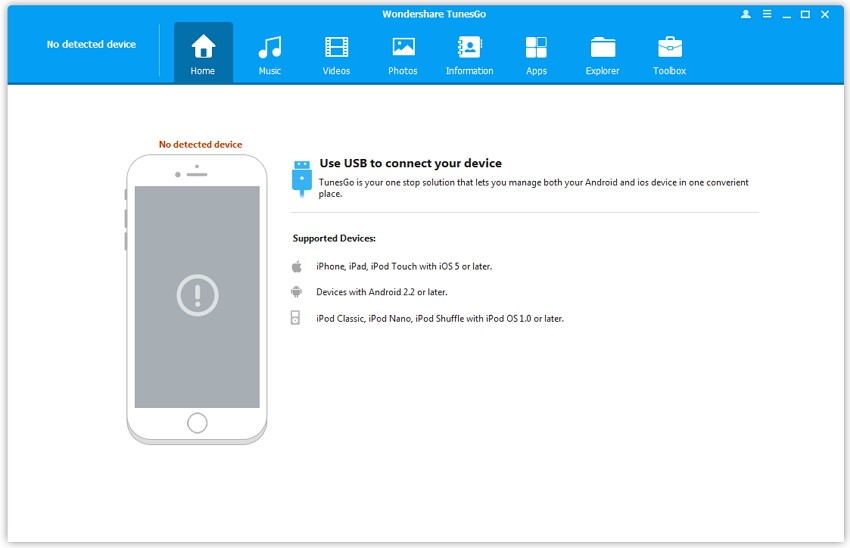
Step 2: Connect your device to the computer using a USB cable.
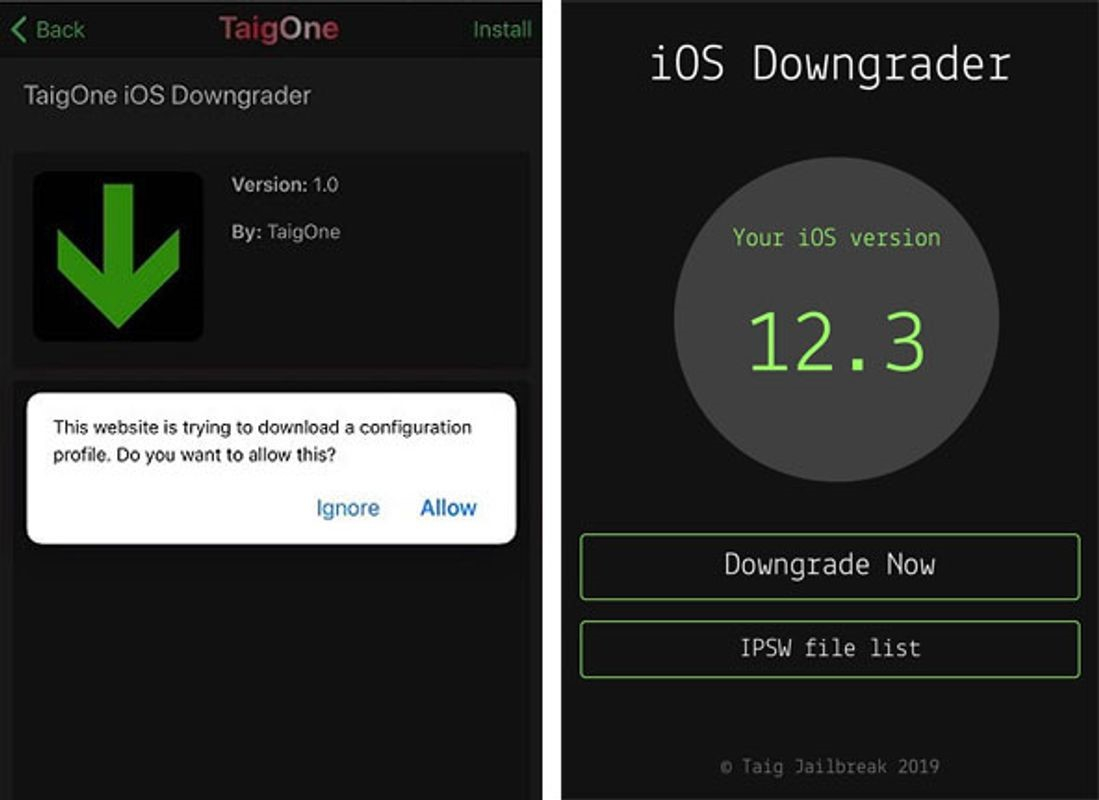
Step 3: You must download TaigOne downgraders for you to use it for the downgrading process.
Step 4: As soon as you download the TaigOne downgraders, you need to choose “Downgrade Now” to allow this iOS downgrader to proceed with the process.
In conclusion, it is better to downgrade iOS without iTunes since the third party tools make it easy, faster and ensure that phone data stays intact. If you prefer to downgrade iOS using iTunes, you should prepare for operation difficulties and loss of data.
