2 Ways to Add Photos to iPhone and Tips to Get More Space for iPhone
For some iPhone users, it's pretty easy to add photos to iPhone. However, some new iPhone users don't know how to add photos to iPhone. There are numerous ways we can import iPhone photos from PC. But first we are going to discuss that how we can add photos to iPhone with iTunes.
- Part 1: Add photos from computer to iPhone using iTunes
- Part 2: Add Photos to iPhone from computer without iTunes
- Part 3: Troubleshooting
Part 1: Add photos from computer to iPhone using iTunes
When we are talking about transferring our photos from our PC to iPhone with iTunes the first that should be done is, your iPhone must be connected to your PC through the data cable. After doing so just go ahead and launch the iTunes and then read and follow the instructions given below.
1. In your PC, create a folder with the photos that you have selected for transferring.
2. Now next, in iTunes go and click the device name that appears, and then in the right panel there would be a Photo tab. switch to that.
3. Select the folder which you have created at first place.
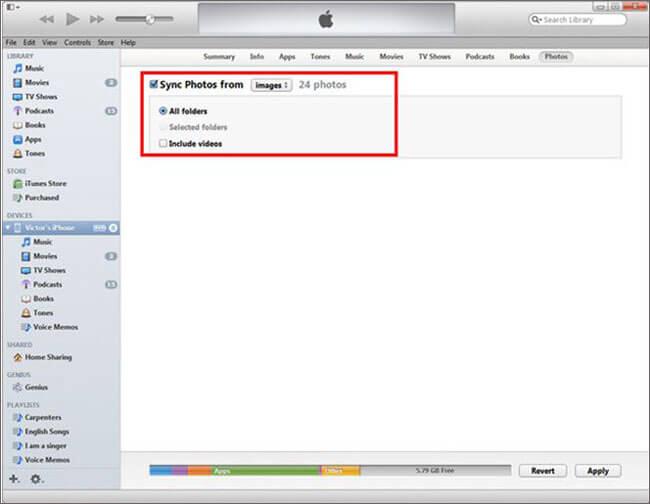
Now this is not the only method that can used to transfer photos or any other important data from your PC to iPhone. Here we are going to discuss on another method that can help a person add photos easily to his iPhone from personal Computer without iTunes.
Part 2: Add Photos to iPhone from computer without iTunes
The software used to add photos to iPhone from computer without iTunes is Wondershare TunesGo. It's an impressive tool that helps users to put photos, songs, videos, and more from computer to iPhone. You can transfer and manage the data on your iOS devices easily and effortlessly with it. Below are the steps for how to use it.
Key features:
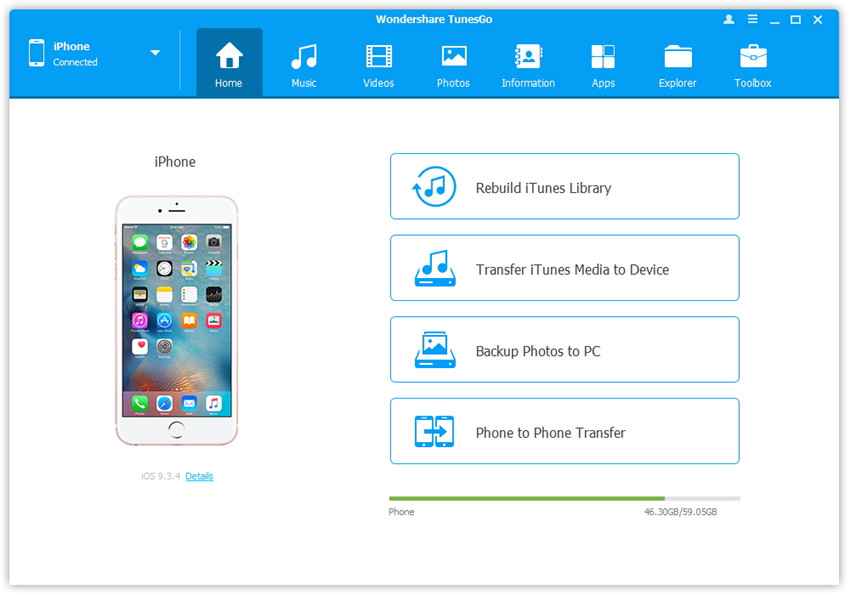
Step 1. Download and install Wondershare TunesGo on your computer. Launch it and connect your iPhone with your computer via a USB cable. After then, you can see the software detects your phone automatically.
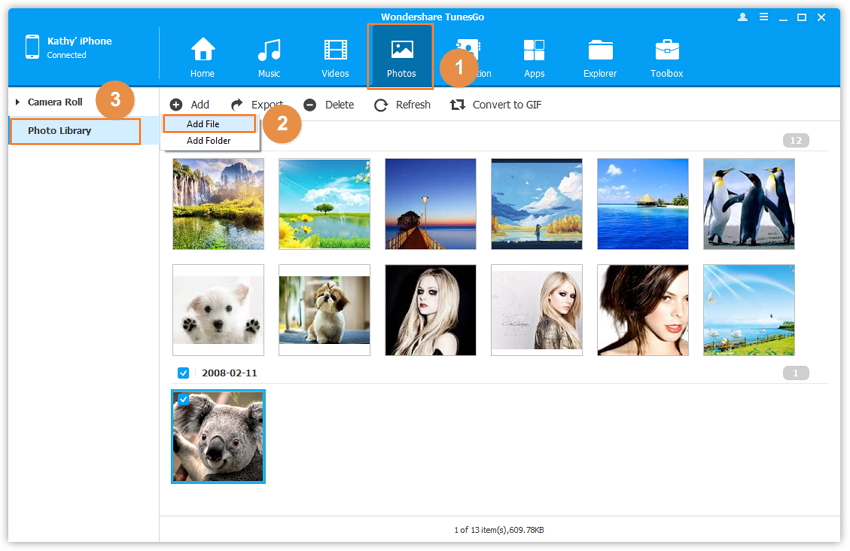
Step 2. Click Photos on the top of the interface. And then you can see there is an "+Add" button. Click it to browse photos on your computer. Select wanted ones and click OK to put them to your iPhone.
Comparision of the 2 ways:
|
|
With iTunes | Without iTunes |
|---|---|---|
| Easy to use |
|
|
| Add the photos you want from computer to iPhone and don't change the exiting photos in your iPhone |
|
|
| Add the photos you want from iPhone to computer |
|
|
| Transfer the photos you want between iOS devices |
|
|
| Convert live photo to GIF |
|
|
| Create GIF from images or video |
|
|
Part 3: Troubleshooting
1.How to check the iPhone storage
Of course, this thing makes many users worry. When you are about to take a picture, or you have just seen a video that you would love to download, or an application that you think would help you in some way, a message appears "Device does not have sufficient space". Now this thing is very less likely to happen if a person does check his phone's memory. The question is how to check the memory of your iPhone?
To see the storage available on your iPhone:
Step 1. First of all launch the Setting App and click General.
Step 2. Now go ahead and tap "Usage" and keep on scrolling down. Tap Usage to check out the used and available storage.
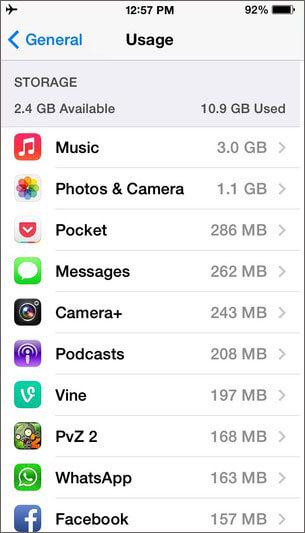
Here you go. This is how you can check the status of available space left on your iPhone. Checking for the space randomly can actually save you a lot of headache and time.
2.How to get more space for iPhone
As by now we know how to check the available space on our iPhone, the next big question is, if the space is low, how to get more space for your iPhone.
1). First thing first. You should backup photos, videos and songs that you want to keep but seldom use on your iPhone to your computer. And then since you have the backup, you can remove them from your iPhone. This really saves space for iPhone.
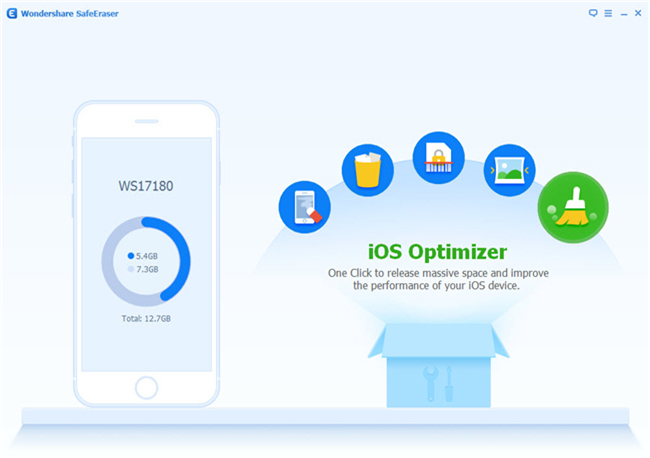
2). After deleting files, for sure, more space will be available. However, in fact, the deleted files are not gone right away after the deletion. They exist somewhere on your iPhone, but invisible. To remove them from your iPhone permanently, you can try Wondershare SafeEraser to remove deleted files on your iPhone.
Download Wondershare SafeEraser free trial version now!
3). Get rid of the junk files and cookies. Whenever you use your iPhone, junk files and cookies are kept generated. You can also try 1-Click Cleanup in Wondershare SafeEraser to remove them all.
