Take lots of photos with your Android phone and want to keep them with memories? It’s not safe to store photos on Android phone, as you may delete them by accident or get your Android phone lost? In case like this, it’s wise to backup photos on Android phone. This article focuses on showing you how to backup photos on Android without any hassle.
Method 1. Backup Android Photos to Google + Automatically
Plan to backup photos from your Android phone to Google +, so you can easily share them with your families and friends? Follow the easy steps below.
Step 1 Go to Google Play Store and download and install Google + app on your Android phone.
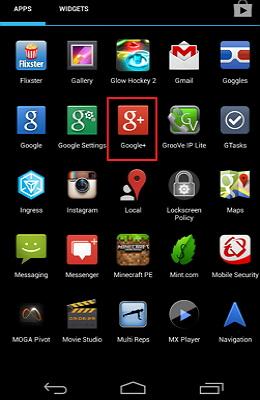
Step 2 Run Google + on your Android phone. Tap the Menu icon to bring up the Setting menu.
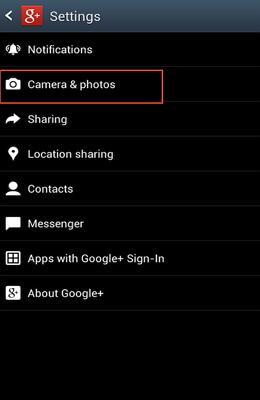
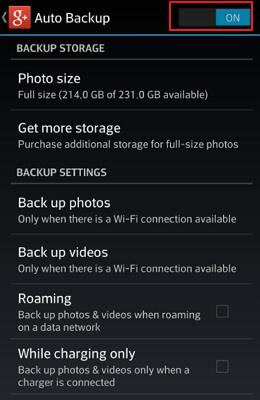
Step 3 Tap Settings and choose Camera & photos. Then, tap Auto Backupp.
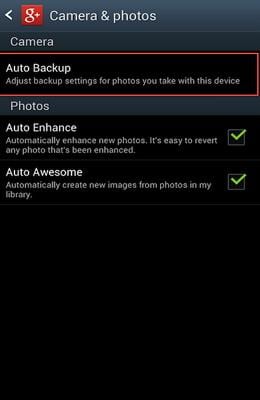
Step 4 Turn on Auto Backup and set your desired options. Then, backup photos you have taken to Google +.
Method 2. Backup Pictures on Android with a USB Cable Manually
If you prefer to back up pictures from Android to the computer and don't have to use any tool, here is the way for you.
Step 1 Connect your Android phone to the computer with a USB cable. Now, your Android phone is mounted as an external hard drive.
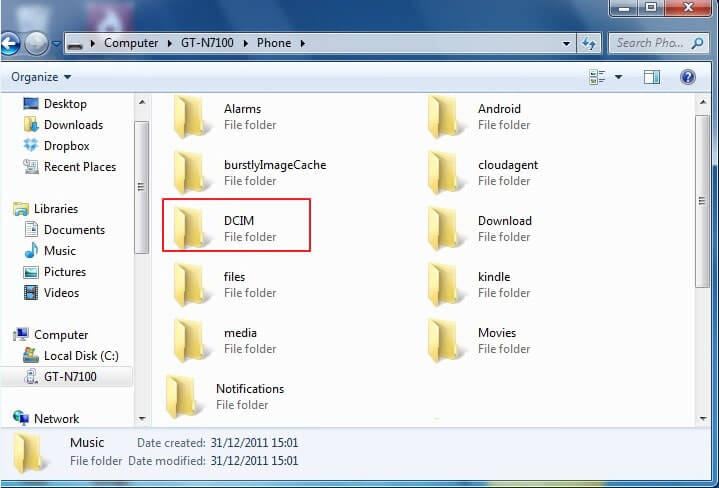
Step 2 On your computer, find the external hard drive of your Android phone. Open it.
Step 3 The default camera pictures are saved in DCIM folder. Photos imported from computer are stored in a folder named Photos or something like that. If you also use some apps to download or take photos, you need to go to these folders and find photos in them.
Step 4 Open the photo folders one by one and copy your wanted ones. Then, backup Android camera photos and others to your computer.
Method 3. Backup Android Photos to Computer with TunesGo
Your USB cable is broken, so you can’t backup photos from Android? Forget the folder where your photos are saved, so you have to spend much time for searching? Take it easy. There’re some useful tools which provides you with easy access to all Android photos folders and then backing up Android photos.
Step 1. Install the tool on computer and get your Android phone connected
To get started, install and run the Wondershare TunesGo on the computer. Take out a USB cable to connect your Android phone to computer.
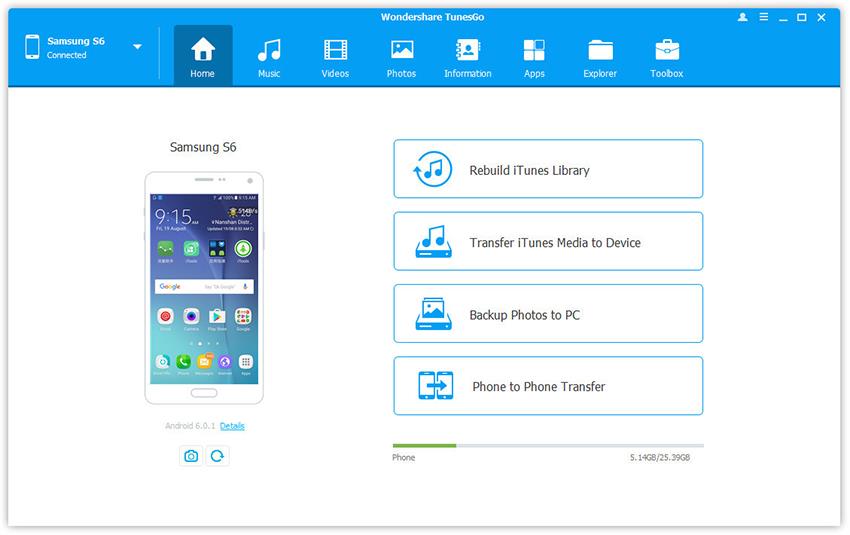
After connected, your Android phone will be shown in the primary window with photos and more files categorized in the top bar.
Step 2. Backup all photos from Android phone to computer in 1 click
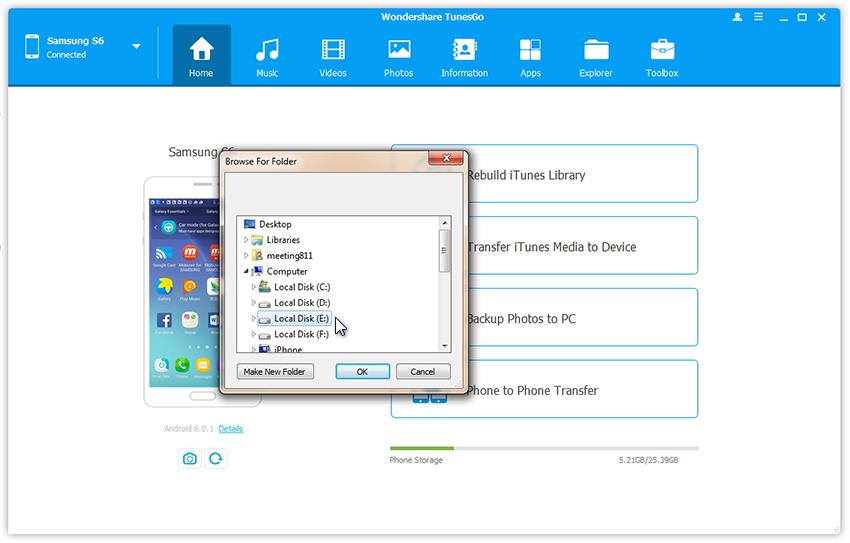
In the primary window, click Backup Photos to PC. This brings up Back Up window. By default, all data you can backup in 1 click are listed there. Tick Photos and any other data you want to backup with. Ensure the location where the backup file will be. Then, click OK. In the whole backup process, not to disconnect your Android phone. When it’s completed, click OK or Open Folder.
Step 3. Selectively backup photos on Android phone
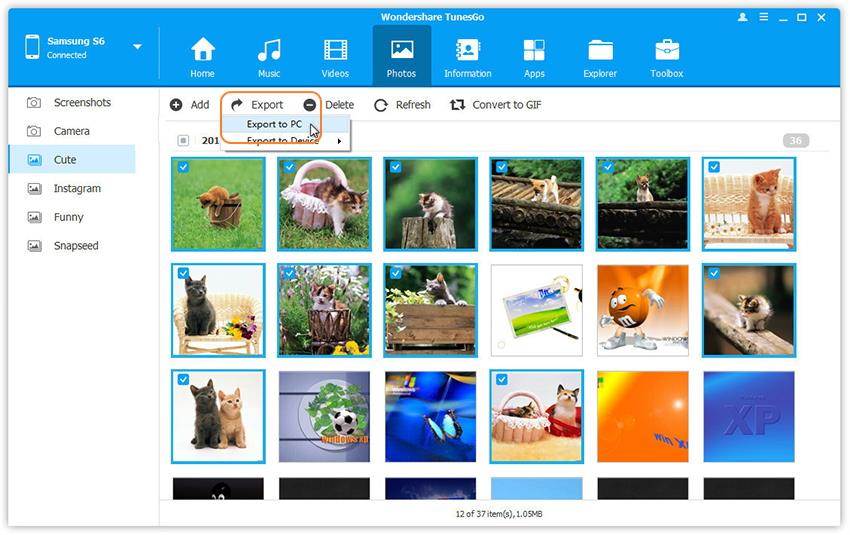
To backup selected Android photos, you can navigate to the top bar and click Photos. All photo folders on your Android phone will be shown in the Photo directory tree.
Open a photo folder and select your desired photos. Click Export. This brings up the computer file browser window. Find a location to save these photos and click OK. When it’s complete, click Close or Open Folder.
