3 Ways to Backup iPad Photos
It is important to backup photos from iPad, because these photos record all the happy and sorrow moments in your life, so you definitely don't want to lose them. Moreover, photos usually capture lots of storage in your iPad, which can be an obstacle for you to add more files into the device, so you can back up iPad photos to PC to avoid this situation. There are 3 ways to finish iPad photo backup task, and this post will introduce them in detail.
- Method 1. Backup iPad Photo Library and Camera Roll to Computer with TunesGo
- Method 2. Mount iPad as a USB Cable to Backup iPad Captured Photos
- Method 3. Backup iPad Photos to Mac with iPhoto
Method 1. Backup iPad Photo Library and Camera Roll to Computer with TunesGo
Wondershare TunesGo is an easy-to-use iPad photo backup program. It enables you to backup all or selected photos and albums from iPad Camera Roll and Photo Library to your computer. Then, you can delete iPad photos in batch.
Powerful Phone Manager and Transfer Program - Wondershare TunesGo

- Directly transfer media files to iOS devices with a click.
- Transfer audio and video from iDevice to iTunes and PC.
- Import and convert music and video to iDevice friendly formats.
- Delete photos/videos in batch with a single click.
- De-duplicate the repeated contacts
- Fix & optimize ID3 tags,covers,song information
- Transfer music, photos without iTunes restrictions
- Perfectly backup/restore iTunes library.
The part below focuses on how to backup pictures from iPad to computer step by step on the Windows computer. If you use a Mac computer, you only need to duplicate the steps on the Mac computer, as the processes are almost the same.
How to Backup Pictures from iPad to Computer
Step 1 Start TunesGo and Connect iPad
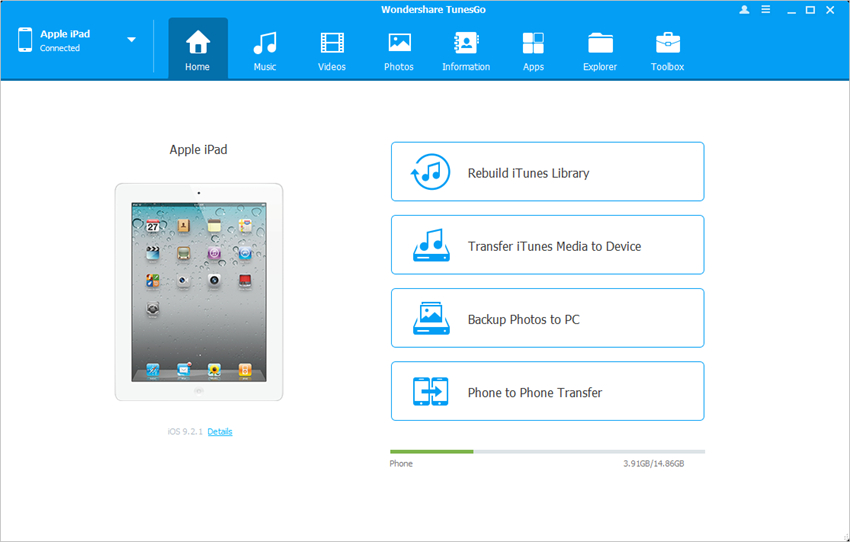
Download and install Wondershare TunesGo on your computer, then start it. Connect iPad to computer with the USB cable, and the program will automatically detect your iPad. Then it displays all the manageable file categories at the top of the software window.
Step 2 Export Pictures from iPad to Computer
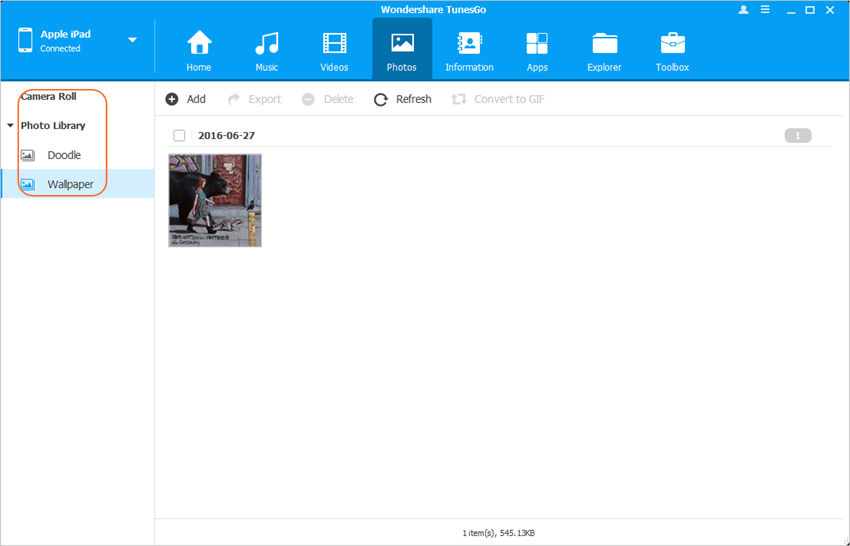
Choose Photos category in the software window, and the program will show you the Camera Roll and Photo Library in the left sidebar, along with the contents in the right part. Now you can select the photos you don't need, and click the Export button at the top middle, then select Export PC in the drop-down menu. After that, you can export pictures from iPad to computer.
Video Tutorial: How to Backup iPad Photos
Method 2. Mount iPad as a USB Cable to Backup iPad Captured Photos
It's a free way to backup photos from iPad to PC. You don't need to install any third-party tool. The following swction will introduce how you can get the work done easily.
What You Need:
- Your iPad and its USB cable
- Your laptop or personal Windows computer
How to Backup iPad
Step 1 Connect your iPad to Windows PC by using a USB cable.
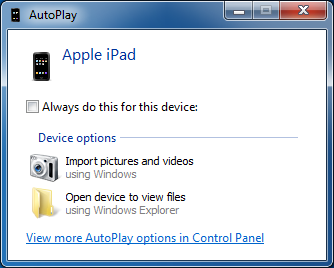
Step 2 The Auto Play window will pop up. Choose Import Pictures and Videos by using your computer's Windows Operating System.
Step 3 Now select the photos you want to back up and click the Import button to start backing up iPad photos.

Step 4 Once all your photos or videos have been backed up, you may review them by checking your Photo Gallery on the computer.
Method 3. Backup iPad Photos to Mac with iPhoto
What You Need:
- Your iPad and its USB cable
- Your Mac computer
- iPhoto
How to Backup iPad Photos on Mac
Step 1 Make sure that your iPad is connected to your Mac by using your USB cable.
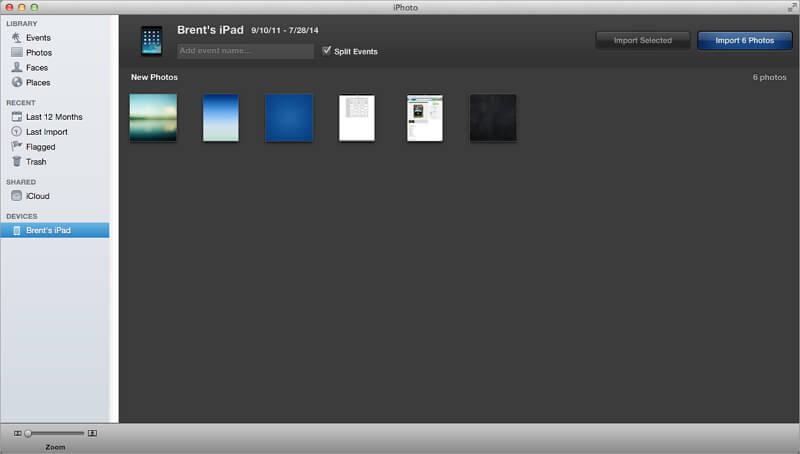
Step 2 Run the iPhoto application on your Mac. If you have successfully configured your iPhoto to read your iPad upon plugging, then your application will launch automatically.
Step 3 All photos on your iPad will be shown. Simply click Import Selected or Import Photos.
