How to Transfer Music from iPad to PC
Who don't love music? We are always listening to music, whether on the way or staying at home. We usually save our favorite music files on our mobile devices, such as an iPad. When we are going to enjoy the music on our computers, we should transfer music from iPad to PC if the music files are available. Fortunately, we can find several ways to transfer music from iPad to computer, and the top 3 solutions are introduced in this post.
- Part 1. How to Transfer Music from iPad to PC without iTunes
- Part 2. How to Transfer Music from iPad to PC with iTunes
- Part 3. How to Transfer Music from iPad to PC via Dropbox
Part 1. How to Transfer Music from iPad to PC without iTunes
Wondershare TunesGo is an excellent manager for iPhone, iPad and iPod. It allows you to transfer various types of files, including music, videos and so on between your iPad and computer/iTunes with just several simple clicks. The best thing about this product is that you don't need iTunes at all, you can directly transfer your media to your PC. The following guide will show you how to transfer music from iPad to PC with TunesGo.
Powerful Phone Manager and Transfer Program - Wondershare TunesGo

- Directly transfer media files to iOS devices with a click.
- Transfer audio and video from iDevice to iTunes and PC.
- Import and convert music and video to iDevice friendly formats.
- Delete photos/videos in batch with a single click.
- De-duplicate the repeated contacts
- Fix & optimize ID3 tags,covers,song information
- Transfer music, photos without iTunes restrictions
- Perfectly backup/restore iTunes library.
How to Transfer Music from iPad to PC with Wondershare TunesGo
Step 1 Connect iPad to Computer
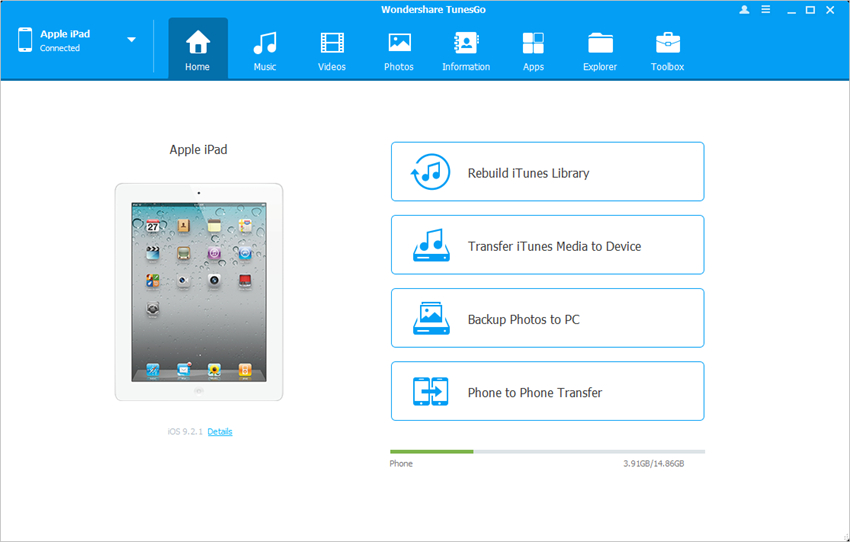
After the installation of Wondershare TunesGo, start it on your computer. Connect your iPad to computer with the USB cable, and the program will automatically detect your iPad.
Step 2 Transfer Music from iPad to PC
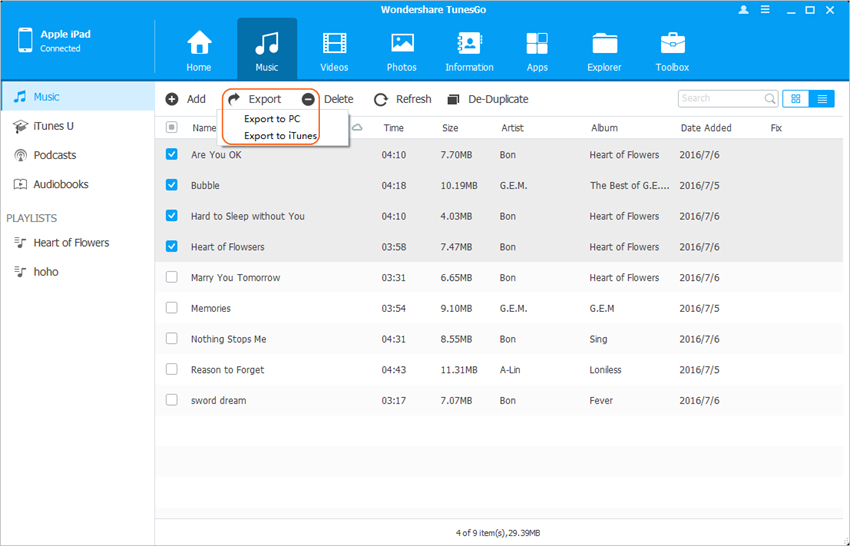
You'll see several file categories at the top middle of the software window. Choose Music category and the program will display all your iPad music files in the main interface. Check the music files you need and click the "Export" button, then choose "Export to PC" in the drop-down menu. After that, choose a targeted folder on your computer and click "OK" to start transferring music from iPad to PC.
Part 2. How to Transfer Music from iPad to PC with iTunes
If you are new to iTunes, you'll find that iTunes has tons of limits when you want to transfer files. We hope this guide about how to transfer music from iPad to PC with iTunes can provide you a little help. Please note that the latest version of iTunes should be installed on your computer if you are using the latest iPad model.
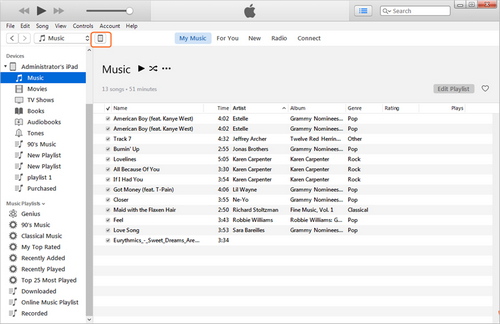
Step 1 Connect iPad to computer with the USB cable, and iTunes will start automatically. If not, you can manually start it.
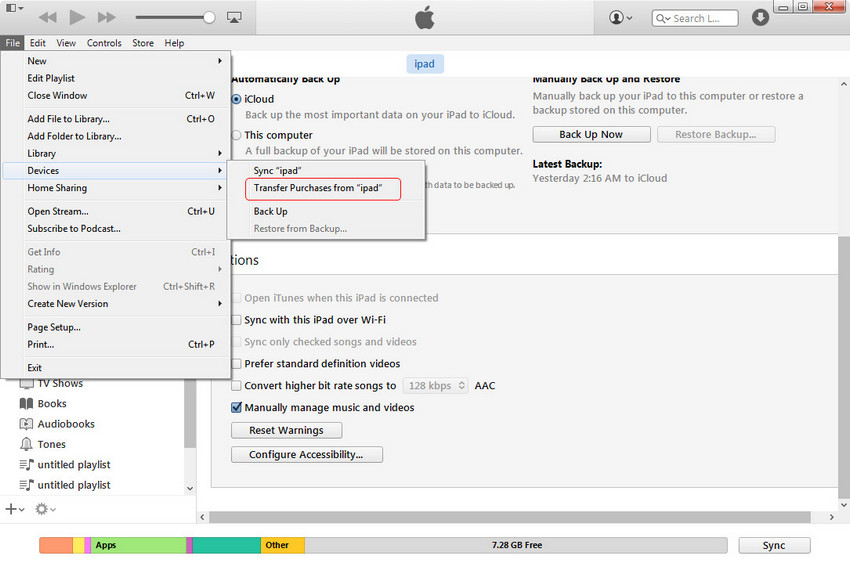
Step 2 After iTunes recognized your iPad, choose File > Devices > Transfer Purchases from iPad at the upper left corner of iTunes window. Then iTunes will start transferring all the purchased items from iPad to iTunes library, including music files you bought in iTunes Store.
Note: Please note that iTunes only transfers the purchased music files from iPad to iTunes Music Library. For the songs that are got from other sources, iTunes won't be helpful for transferring them back.
Part 3. How to Transfer Music from iPad to PC via Dropbox
As is known, Dropbox is a cloud service which enables users to sync files between mobile devices and computer. So this part will introduce how to transfer music from iPad to PC with Dropbox.
Note: Please note that Dropbox only provides 2GB for free use, and if you want to get more storage space, you'll have to pay for it.
Step 1 Install and start Dropbox on your computer and iPad. Start it with the same account.
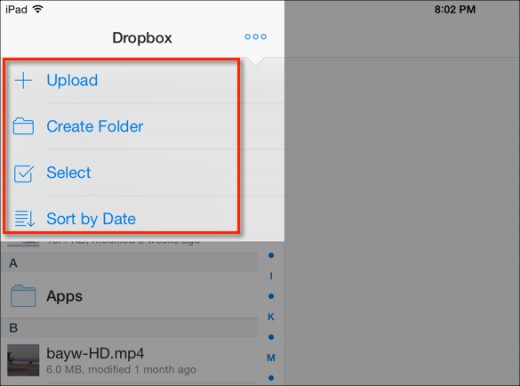
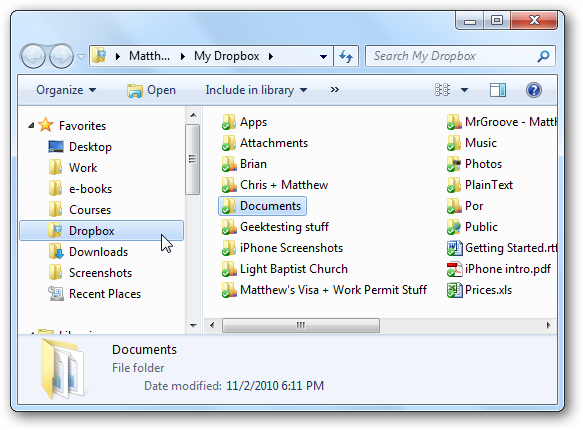
Step 2 Start Dropbox and you'll find an Add button. Tap it to add music files from your iPad Music app. Then open Dropbox folder on your computer, and you'll find the synced music files. You can download them to your local hard drive.
If you want to use iPad with Dropbox, please make sure that you have stable Wi-Fi connection and enough storage space on iPad. The app can take up your iPad storage space while you are adding files into it.
Desktop programs and cloud services are both helpful for the task, but TunesGo Retro provides an easier process without the need of Internetn connection. Threfore, TunesGo works like a champ when comparing with other two methods. If you are interested in this program, just check it out.
