How to Transfer Photos from iPad to Mac
The 8 mega-pixel camera,which most users enjoy the function on iPad, enables you to take the beautiful photos, and it can be carried around to take whatever photos you like. Moreover, you can enjoy the photos on your screen in any time after taking them. However, iPad has limited storage space, so you would need to have the option of saving your photos to some other places, for example, your Mac. Also, it is better to check out those photos on an even bigger screen. By transferring photos from iPad to Mac, you can make a backup of these photos so that you won't lose them. If you are still wondering how to transfer photos from iPad to Mac, this post will be just right for you.
- Part 1. Transfer Photos from iPad to Mac with iTunes
- Part 2. Transfer Photos from iPad to Mac without iTunes
Part 1. Transfer Photos from iPad to Mac with iTunes
Image Capture is the pre-installed program on Mac computer, which will enable you to import photos from iPad to Mac computer. The following guide will show you how to transfer photos from iPad to Mac with Image Capture.
Step 1 Connect iPad to Mac computer with the USB cable. Then Image Capture will pop-up open.

Step 2 Select the photos you need, and click "Import All" at the upper right corner. Then the program will start transferring photos from iPad to Mac computer.

Part 2. Transfer Photos from iPad to Mac without iTunes
- I. Transfer Photos from iPad to Mac Using Wondershare TunesGo
- II. Transfer Photos from iPad to Mac Using Wondershare MobileTrans for Mac
I. Transfer Photos from iPad to Mac Using Wondershare TunesGo
When you are transferring photos from iPad to Mac, you would want to use a reliable program that enables you to transfer your photos quickly and without any effort. This is why your best choice is using the third party tools. The first one we introduce to you is Wondershare TunesGo. This program is a comprehensive content manager for iPhone, iPad, and iPod. It enables you to move all kinds of files between your device and your Mac, or even transfer various file types between two Apple devices. When you are transferring photos, it will list all the photos you have on your iPad and create thumbnails of them. So you can preview them and select exactly what photos you need to be transferred, and what photos you don’t want to be moved to your PC. We will explain you the whole how to transfer photos from iPad to Mac process in the following guide.
How to Transfer Photos from iPad to Mac
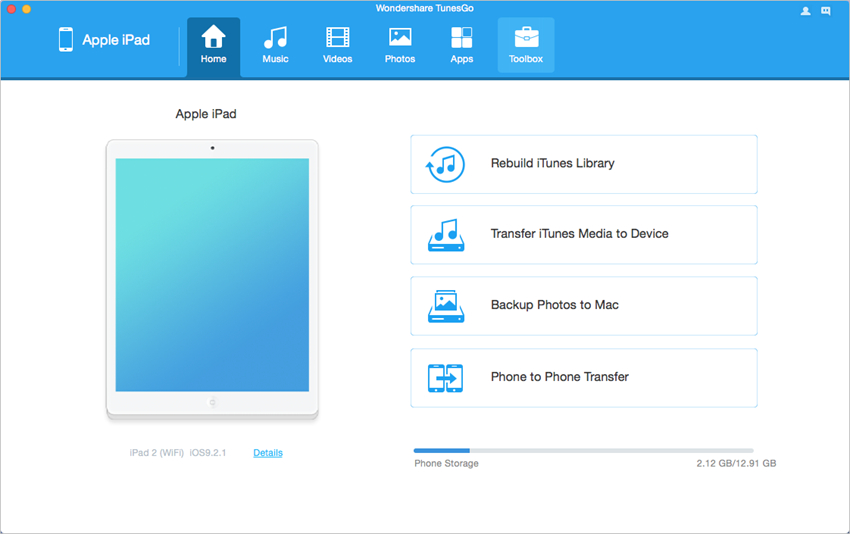
Step 1 Start TunesGo and Connect iPad
Start the tool after the installation, and connect iPad to computer with the USB cable. The program will detect your iPad automatically, and display all the manageable file categories in the main interface.
Step 2 Transfer Photos from iPad to Mac
Choose Photos category in the main interface, and the program will show you the Camera Roll and Photo Library in the left sidebar, along with photos in the right part. Now select the photos you want to transfer, and click the "Export" button at the top of the software, then choose a targeted folder on your computer to save the exported files. After that, the recommended tool will transfer photos from iPad to Mac computer.
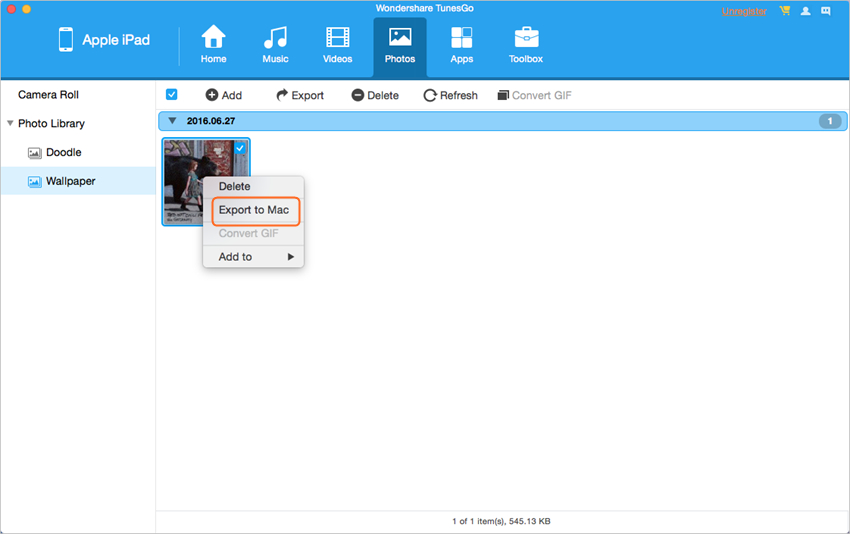
With the help of the tool, you are able to transfer photos from iPad to Mac computer with simple clicks. This iPad file transfer program also helps you to manage iPad files easily.
Powerful iPad Manager and Transfer Tool

- Directly transfer media files to iOS devices with a click.
- Transfer audio and video from iDevice to iTunes and PC.
- Import and convert music and video to iDevice friendly formats.
- Delete photos/videos in batch with a single click.
- De-duplicate the repeated contacts
- Fix & optimize ID3 tags,covers,song information
- Transfer music, photos without iTunes restrictions
- Perfectly backup/restore iTunes library.
- No iTunes needed
- Fully compatible with iOS 11
II. Transfer Photos from iPad to Mac Using Wondershare MobileTrans for Mac
Wondershare is truly putting an effort into creating extremely useful applications for users, and MobileTrans for Mac - Phone Transfer for Mac is another software that definitely deserves your attention. It is a very easy-to-use transfer tool for all mobile devices. With it, you can easily transfer various file types between an iPhone and Android, for example, or any other two cell phones that come to your mind, but you can also transfer photos from iPad to Mac without iTunes. All you need to do is to ensure that you have the software installed and a working USB cord as well.
Step 1 Download and install this phone transfer tool on your computer, then start it. For transferring photos to your Mac, we will choose the Back up Your Phone option at the bottom.
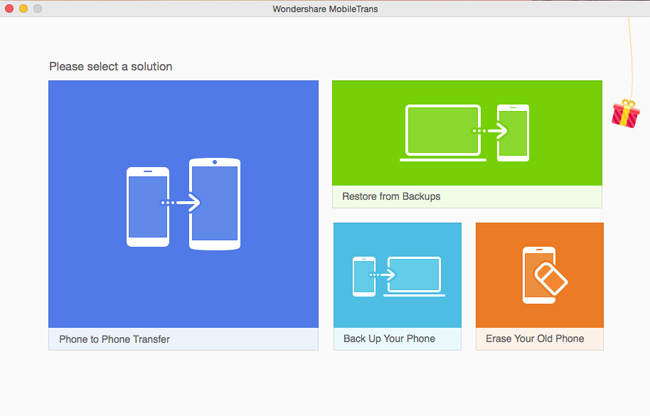
Step 2 Connect iPad to computer with the USB cable, and the software will automatically recognize your iPad.
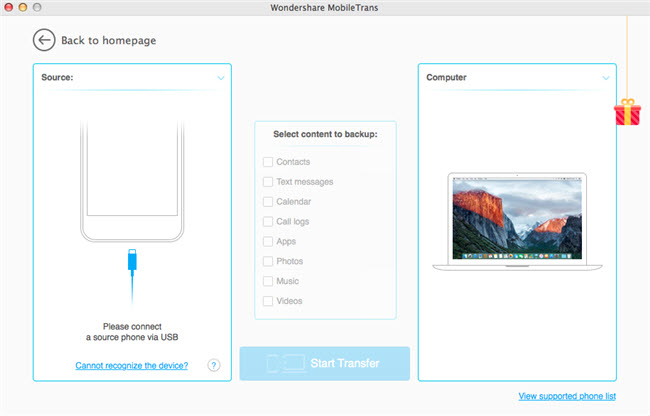
Step 3 Select the file type you want to transfer.In this case, "Photos" should be chosen. Then click the "Transfer Now" button at bottom.
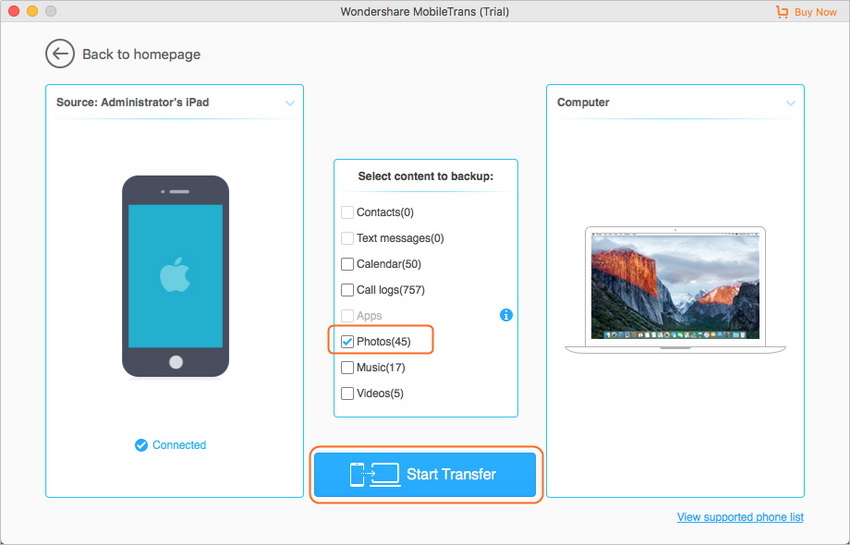
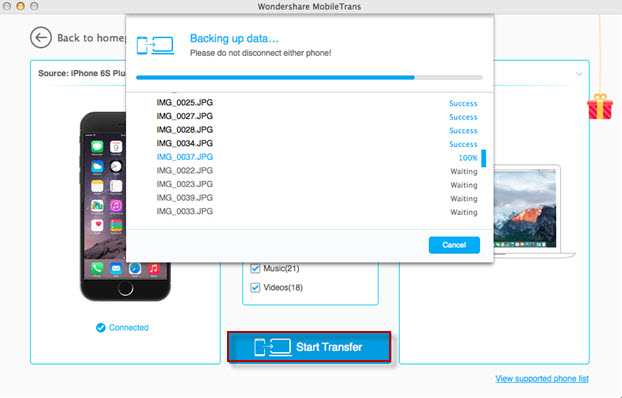
Step 4 MobileTrans will start transferring photos from iPad to Mac computer automatically.
